The Top 3 ESPHome Components
ESPHome
ESPHome allows you to create programs for your ESP8266 and ESP32 by simply creating a yaml configuration file, this allow you to create complex programs and automations with zero code. ESPHome can also expose APIs straight to Home Assistant or via MQTT which allows you to extend your automations beyond just a single ESP chip!
This is a list of the top 3 ESPHome components that you should install with any ESPHome project.
Status LED Component
The status LED is the first component on the list, with the status LED you will need a LED connected to the ESP device and this will indicate the status of the device in the following ways:
- The LED blinks slowly when a warning is active.
- The LED blink quickly when an error is active.
This is a life saver, just by looking at the LED you’ll know if something has gone wrong with your automations, normally you’d need to connect the USB and boot up a machine to stream the logs (This can also be done OTA if still connected to WiFi).
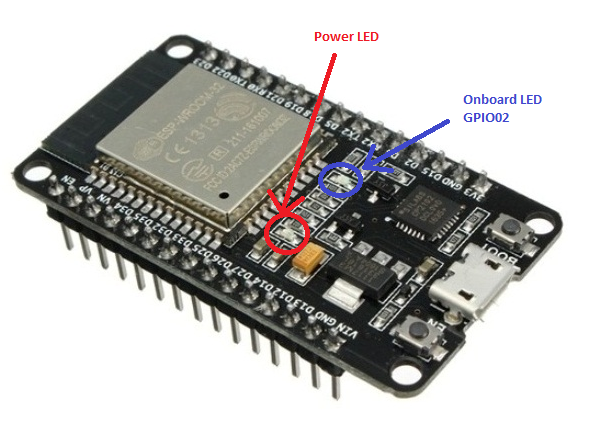
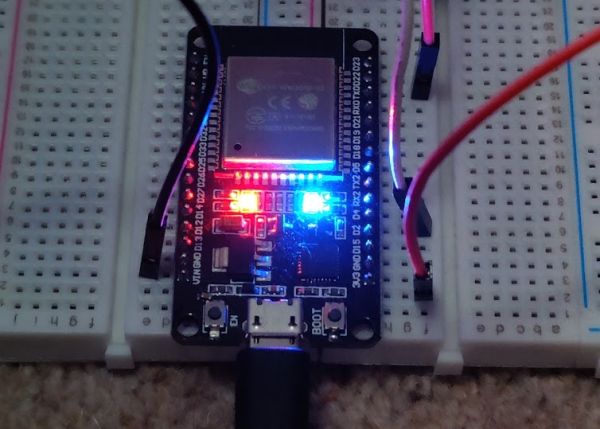
Lucky enough if you’re using one of the ESP32 Development Boards you can use the extra onboard LED via GPIO02.
The yaml configuration for this is really simple, at the root level of the yaml file add the fillowing:
status_led:
  pin:
    number: GPIO2
Once booted up the LED will stay off until there’s an issue and the LED will start to blink.
WiFi Signal Sensor Component
Next up is the WiFi signal sensor component, this exposes the WiFi signal strength in decibels (dB) which can be great to track the connectivity from your WiFi from your ESP devices. You can optionally wire this in to other output components such as the light components but by default this will push the data to Home Assistant if you’ve got the Home Assistant API enabled in the configuration.
For this we simply add a sensor of wifi_signal to our configuration.
# Enable Home Assistant API
api:

sensor:
  - platform: wifi_signal
    name: "ESP WiFi Signal"
    update_interval: 30s # defaults to 60s
Once done we’ll see this as a sensor in Home Assistant.

Uptime Sensor Component
The last component we’re going to cover is the Uptime Sensor Component, this allows you to track the uptime of your esp devices. This is great if you have got some rogue devices as you can tell straight away which ones are crashing and restarting. Similar to the WiFi Signal Sensor Component you can output the result of this sensor to other components such as the Display Components, however, if we have the Home Assistant API enabled the data will get exposed to Home Assistant.
For this we simply add a sensor of uptime to our configuration.
# Enable Home Assistant API
api:

sensor:
  - platform: uptime
    name: "ESP Uptime"
    update_interval: 30s # defaults to 60s
Once done we’ll see this as a sensor in Home Assistant.


